Setting a path to follow during development will ensure that you complete your game with minimal fuss.
From my experience it is extremely tedious to develop a game when you have to search different websites for different techniques or when you aren’t sure how it all comes together.
This article presents you with a series of steps in the order they are taken to bring your game from idea to completion using Apple’s native game engine spritekit.
1.Create the Project
The first thing you will do once you have an idea for a game is create the game project using XCODE which is Apple’s IDE for development. Why use XCODE when developing for Apple devices? Because it will make your life a whole lot easier, no tears and you will be happy.
2. Set Up the Workspace
In XCODE, this involves logistics and prep work, such as deciding what orientation your game will be played in on the devices. Then making the appropriate changes- deselecting the portrait or landscape views and edits in the project files or the XCODE editor.
3. Adding Project Resources
The project resources are the image files, audio files or any external files you created and want to add to the project. You simply drag and drop these into the project navigator and you are all set.
4. Changing the Background Color
This is done to get your feet wet. It involves writing a few lines of code, simply so that you can get something working. Getting something working quickly is what keeps many programmers motivated and working.
Don’t let the simplicity of this task fool you. It allows you to stay motivated once you see that you can affect your project in such a way.
5. Adding the background sprite
Add the background image from your asset or image folder as a background for your game. Once you understand how to add and position the background sprite, you can add any sprite to your game scene.
6. Adding the game sprites
Once you add the background sprite, it is often a good idea to add your in-game sprites as well. It frees up your time so you focus on the game logic.
7. Adding the player controlled sprite
You might have added the player controlled sprite along with the game sprites. That works too. The reason we add it separately is because most of the time, the player controlled sprite has behavior or a position we would like to set, which might be different from other in-game sprites.
Adding Game Logic
Once you have set up your game assets, you can begin adding game logic to your game. In this tutorial we implement the popular drag and drop mechanic found in many games in the app store.
You must take the divide and conquer approach when implementing your game logic. This means that you must break the process down into the smallest parts and then write the code.
8. Drag the Sprite
Implement the drag mechanic for your player sprite. This involves using the touchesBegan functionality made available by apple, for their products.
It simply triggers an event when a finger or touch is detected on the screen.
9.Drop the Sprite
This uses the touchesMoved and touchesEnded functionality to detect when the touch moved and is no longer touching the screen.
In this section we create the Menu Screens, buttons and any user interface tools our game will need.
10. Create the Main Menu(setUp)
It is important that you create the required cocoa touch files to create your main menu screen, which is actually a scene or you can have an SKNode. In this tutorial we use a scene.
11. Calling the Main Menu
Once the main menu is set up, it will need to be called, in order to work. Your Main Menu must be called immediately after the game launches and should be the first scene displayed by the game view.
12. Adding the background sprite
This works the same as adding the game scene background sprite.
13. Touch Starts the game
Once the Main Menu has been loaded, we will need a way to actually start the game. We can do so by simply adding touch functionality to the scene. Once a touch a detected. The Game Scene is called and loaded, then the game runs until it ends.
14.Back to the Main Menu Button
You will need a way to get the player back to the main menu from your game scene. We will use the same touch method as in (13), but this time we will use a sprite as a button the player can press to get to the main menu.
15. Scene Transitions
These are animations, that add a little more excitement to your game. Think of them as the icing on the cake. They may seem irrelevant but they greatly affect your game.
16. Adding a play button
Once your game is complete, your player will need a navigation to find their way around the game. Adding a Play Button, using a sprite is a great and easy way to do so.
More Game Logic and a Demo of a game in the APP Store
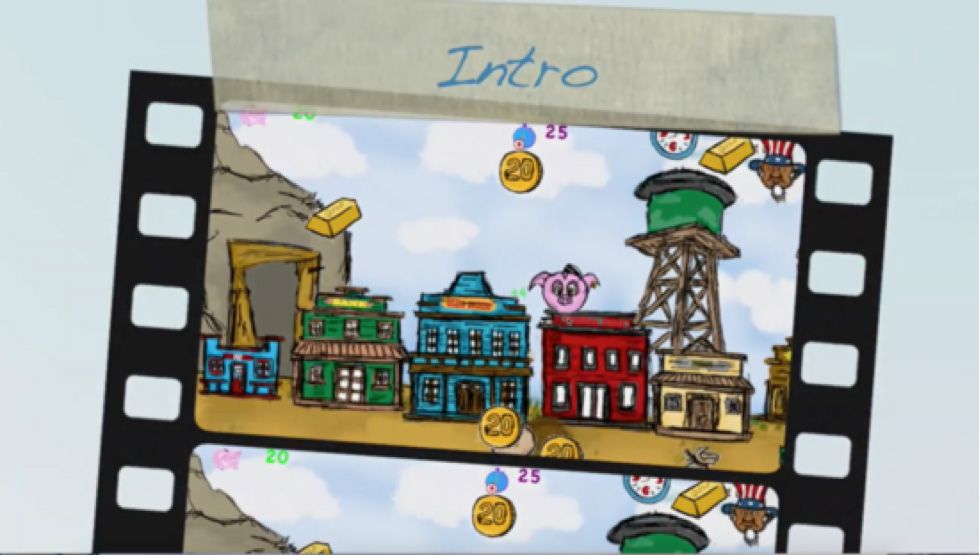
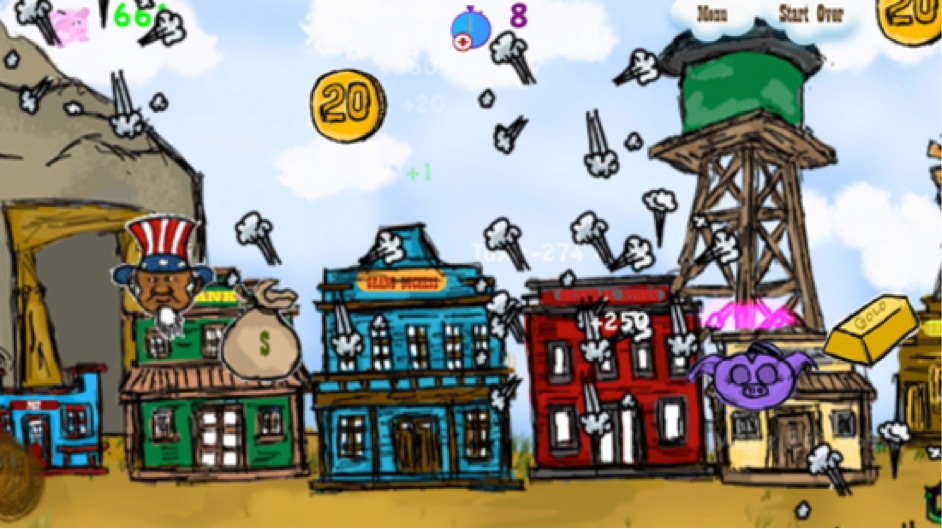
This section was added to share the solution i found and used for the game — Piggie Penny Pincher that I created, available in the App Store.
Bringing your game to life
18. Animation & Special Effects
This is the time to add any principles of animation and particle effects to add a lot of life to your game.
Adding any of the 12 Principles of Animation can bring it to life. The easiest of these principles and probably the most common is squash and stretch. It’s simple and easy to achieve and the rewards are a better game.
19. Music and Sound Effects
Finally you can add sound effects and music to your game. This is often overlooked but allows your game to be engaging.
Source:
Medium

 Mbozu Grace Lweendo